


Project Info:
- 1 Button (button pictured no longer available)
- 1 Floating Om Charm
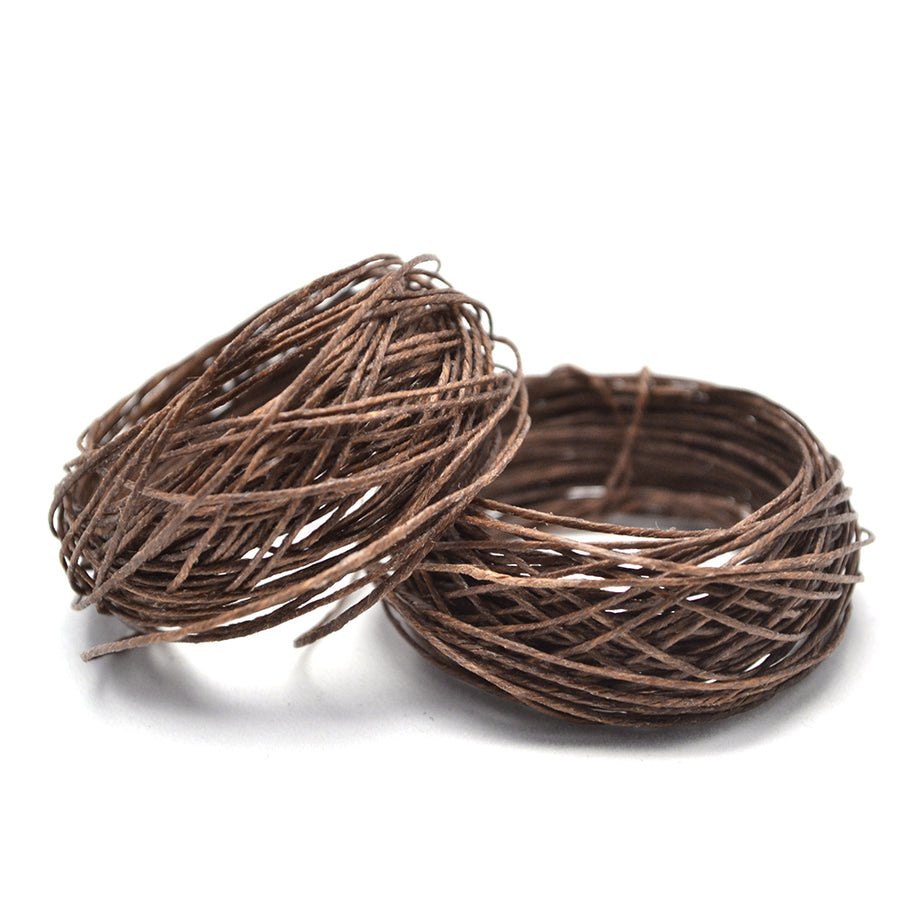
- 2 10 Yard Spools 4 Ply Walnut Irish Waxed Linen
- 1 Strand White Padres
- 1 Pkg. Essenza
- Turquoise Beads (no longer available)
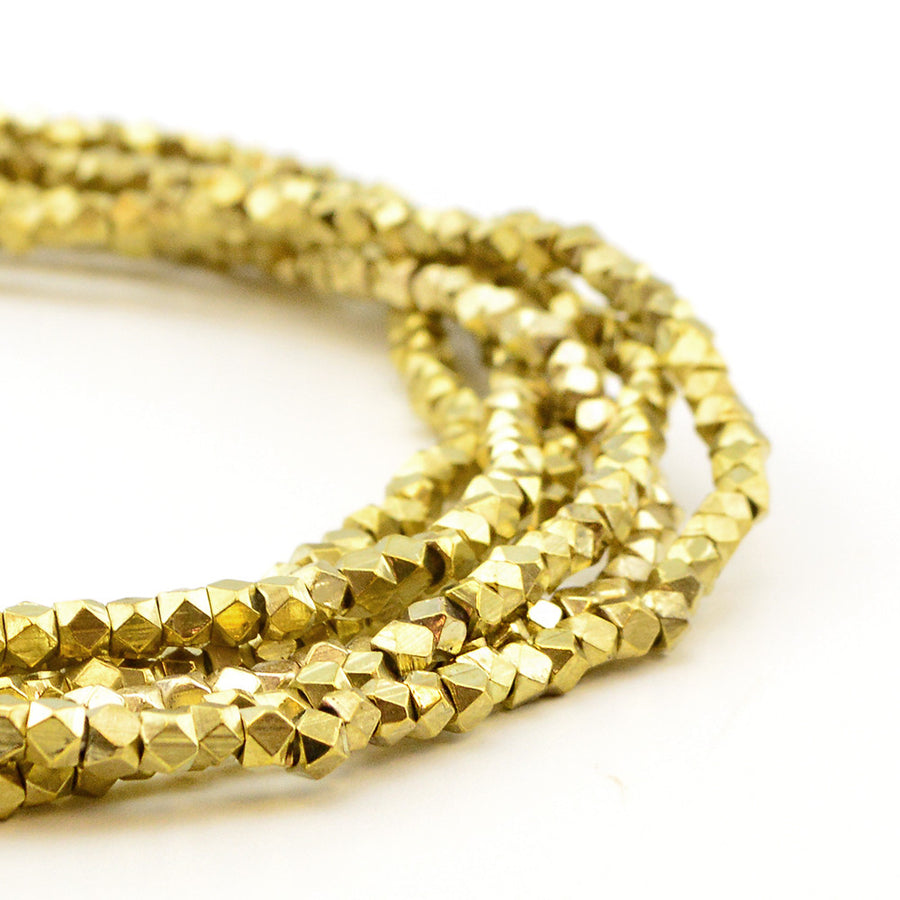
- 1 Strand Shadows - Bright Brass
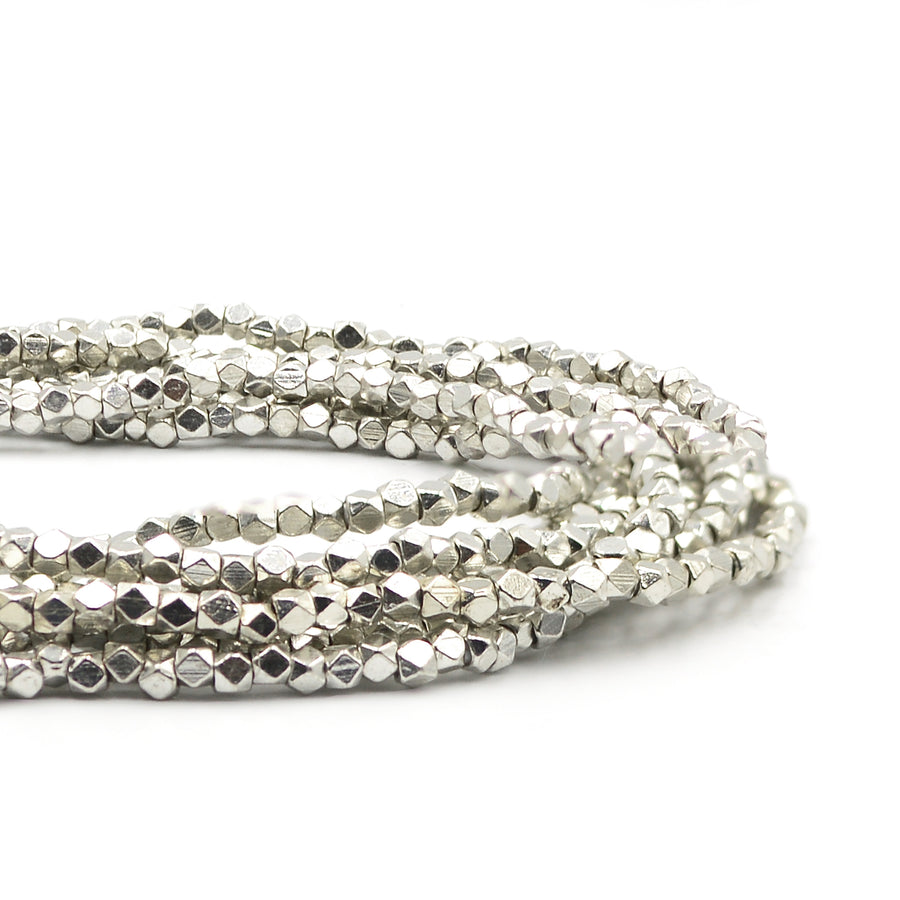
- 1 Strand Shadows - Silver Plate
- 1 Tube GS Hypo Cement
- 1 Button (button pictured no longer available)
- 1 Floating Om Charm
- 2 10 Yard Spools 4 Ply Walnut Irish Waxed Linen
- 1 Strand White Padres
- 1 Pkg. Essenza
- Turquoise Beads (no longer available)
- 1 Strand Shadows - Bright Brass
- 1 Strand Shadows - Silver Plate
- 1 Tube GS Hypo Cement
Level: Beginner
Estimated time: 8 Hours
by Janice Parsons
Growing up in her mother's antique shop, Janice was first introduced to wax linen and African trade beads at a very early age. I was about twelve when I picked up my first spool of waxed linen....love at first sight! And every few weeks, the traders would drive up to the shop in their vans and unload kilos and kilos of trade beads. My mother was very picky and would always haggle. This necklace is for her.
Watch How to Make a Beaded Braid for project techniques and overview of this design. Finished strands measure 18-22 inches in length. The tassel end (not shown in photo to left) measures 3 inches. Adjust materials for desired length.
Beaded Braid- Beloved


Project Map

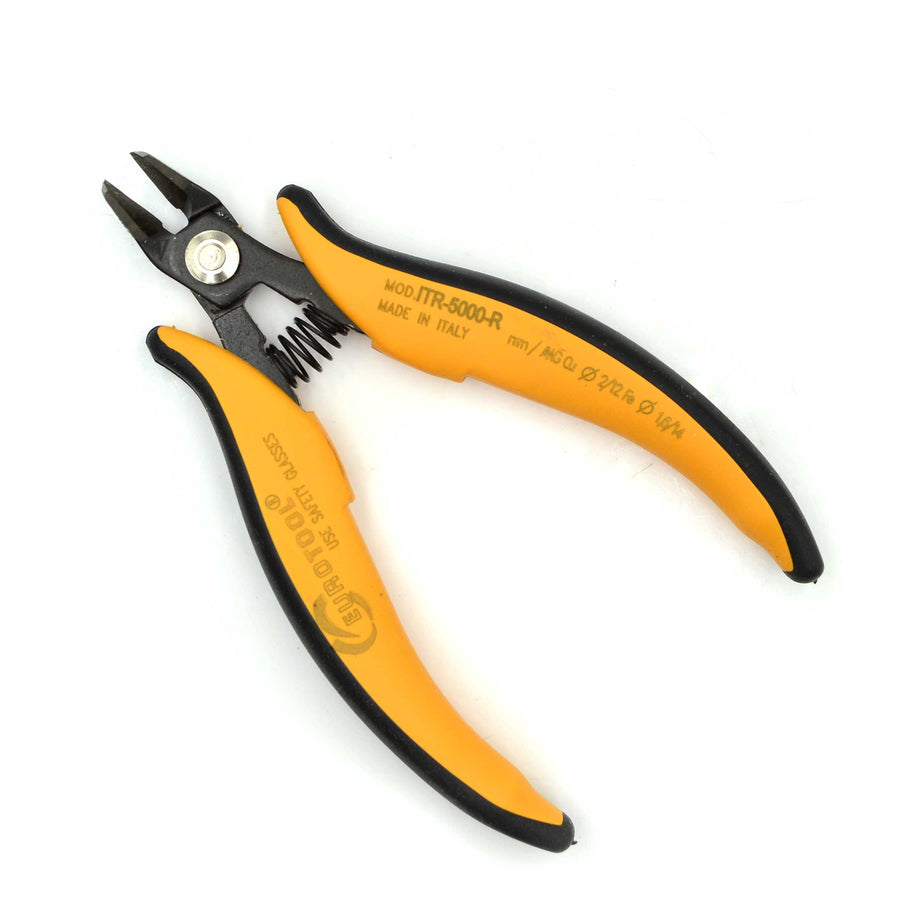
Begin with a Button: Please watch the video for braiding techniques which are not be covered in this companion handout. To begin building this design, you will need 12 strands of 4 ply linen cut 40 inches each. Bring 6 strands through the button holes, jump ring or shank, and tie them together in an overhand knot as seen in the video. Add a drop of glue into the knot before you continue. Let the Hypo-tube Cement dry before you cut the ends with wire cutters. Repeat the tie with the other 6 strands and leave them to the side until you are read to braid with them. The optional tassel can be tied on now or added at the end. Cut six strands about 10 inches each and tie them on as you did the long strands. Add glue and let dry. Secure your project to a smooth surface with tape and begin braiding.

Braid the Inside First: With multiple strands and a pendant resting in the middle, it is always best to knot your shorter strands first. How great it looks on when wearing really depends most on how it frames the face with the shorter strands, not how long it goes with the outer strands. With each strand, leave about 1/2 inch of just braiding near the button. This helps saves the beads from possibly rubbing against metal or excess wear and tear. In Janice’s sample, she braided her two shortest strands about 5 inches each with padre beads before bringing them together for a 6 strand braid and the addition of hex beads. Be sure to watch the video to learn how to alternate beads on either side of the braid. After a couple of inches of braiding all six strands together, separate them again and continue until you get to your desired center to hand the pendant.

Hanging a Pendant: Janice has used a fairly light pendant which will add some stress over time to the linen. Her trick to helping the linen last longer is to add a hex bead on either side to keep the pendant from sliding around on the linen. At this point, you want to measure where the pendant is going to lay before finalizing its placement. Take a moment to check length in the mirror. Note: the photograph shows the outer two strands completed but you are not there yet! Once you are happy with the pendant’s placement, braid enough to mirror the first half back up to the 6 strand braid.
Complete your second inner strand which hangs lower so the length is longer than the pendant braid. Again, check the length on you, not just by eyeballing it on your design board. Once you like their length, bring them together and repeat the 6 strand braid and braid them both up the side to within one inch of closing.

Braiding Multiple Strands: The outer two strands are just sheer pleasure. All you are going to do is braid them longer than the inner strands. In the case of the rectangular turquoise beads, string a bead on the middle strand of the braid and bring a strand on the outside of both sides and begin your braiding again on the bottom of the bead. We cannot stress enough how important it is to measure as you go to get the length right. In Janice’s sample the finished length of the turquoise strand is 24 inches. The second longest strand is 22 inches. The middle short one is 20 inches and the shortest strand is 18 inches.

Making a Button Loop With Half Your Strands: When you are nearing your finished length, match the length of braiding you did on the button side. Before making the button loop, you are going to drop some of your threads so your button loop is not too heavy and thick. The photo below is an example of how this is done with. When you get to the point you are ready to start your button loop, leave out all but 6 strands of linen as you begin to braid your button loop.In the second photo, the left out threads and the ones used to braid are then used to tie an overhand knot around the braided section.

Divide your tails in half with equal amounts on each side of the braid making sure you have some from each group. Tie one knot right over left. Flip your project over, bring the tails around to the other side and complete the knot by tying left over right. Before you tighten the knot completely, add a drop of Hypo-tube cement to the knot. Separate each thread and gently pull to tighten the knot evenly. Once the knot is dry, cut the excess linen with wire cutters.

Remember those short strands we tied on way back at the beginning? Now is the time to embellish them anyway that creates a statement about who are you and your design. You can incorporate beads you have used already in your necklace or you can reach further into your creative tool box and add beads that tell a different story. Keeping the beads in place only requires an overhand knot underneath each bead or bead group. When you have them the length you want, add a tiny drop of Hypo-tube Cement to the last knot on each strand and let them dry.
You can keep them long and unwind each strand to create a wavy fiber effect, or you can cut them off close to the last knot using your wire cutters. If you do that, just leave a little bit of linen below the knot for safety’s sake..